A lot of international foods are available now in Finland that may have been hard to find decades ago, but one food that is still elusive is bagels. While there are some bakeries making good bagels here, they are few and far between, and certainly not as convenient as our neighborhood bagel shop was back when we lived in Massachusetts. So I have decided to try my hand at making bagels myself.

I started by looking through my cookbooks. Astonishingly, there’s not a single bagel recipe in any of the cookbooks on my shelf. Even my trusty old Joy of Cooking let me down here, so to the Internet it was! Fortunately, there’s no end of bagel recipes online. After looking at a number of recipes, I settled on one that seemed straightforward and clear, this New York-style bagel recipe from the Sophisticated Gourmet. (One thing I particularly appreciated about this recipe is that it gives both American and metric units. I’ve gotten used to doing conversions, but it’s nice when you don’t have to.) With that recipe as a base and a few tweaks to suit my own kitchen, I made my first test batch of bagels.
And they were good!
So, here’s my process, in case you want to try the same. This recipe is for a plain white wheat bagel without inclusions or toppings. Adjust as you like to make your own preferred type of bagel.
Ingredients
- 2 teaspoons / 6 g active dry yeast
- 4.5 teaspoons / 19 g granulated sugar
- 1.25 cups / 300 ml warm water
- 3.5 cups / 440 g bread flour or high-gluten flour, plus more for kneading
- 1.5 teaspoons / 6 g salt
Equipment
- Two large mixing bowls
- One small bowl
- Measuring tools for cups and teaspoons or grams and milliliters
- Mixing spoon
- Dish towel
- Dough spatula or blunt knife (for dividing dough)
- Baking sheet
- Parchment paper
- Wide, deep pot
- Spatula, slotted spoon, or similar tool (for lifting bagels into and out of boiling water)
- Wire cooling rack
Step 1 – Mixing and kneading
Bagel dough is a stiff, dry dough, so get ready to flex your kneading muscles.
In a small bowl, dissolve the yeast and sugar in the warm water. Let it sit for five minutes. In another, larger bowl, combine the flour and salt.
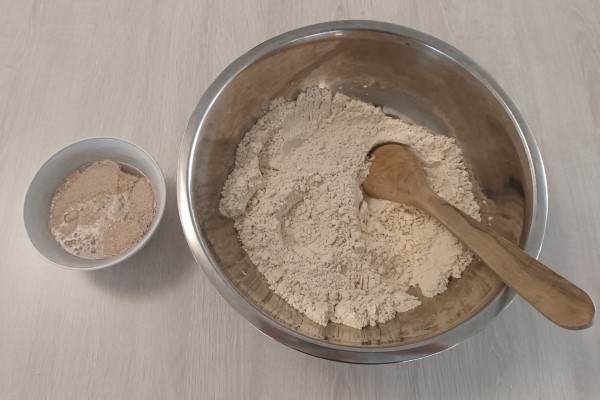
Add the yeast/sugar water to the flour bowl and mix well. The dough will be dry and shaggy, and may not incorporate all the flour.
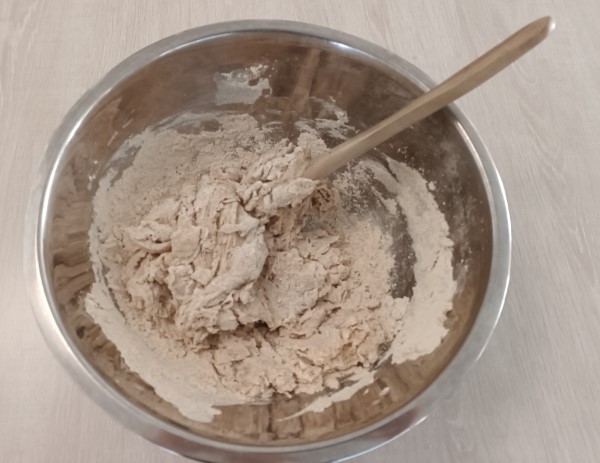
When the wet and dry ingredients are well combined, turn the dough out onto a lightly floured counter for kneading. Knead in any leftover flour that didn’t get combined in the bowl.

Knead for about ten minutes, or until the dough is smooth. The dough will be stiff and dry, but you may need to add more flour as you go to keep a good consistency.

Lightly grease the bottom of a clean dough bowl, set the dough in it, and turn to grease the dough evenly. Lay a damp dish towel over the bowl and set it to rise in a warm place.

Let the dough rise for 1-2 hours until it doubles in bulk

Step 2 – Shaping
The shaping step is crucial both for getting the characteristic bagel ring and for getting a smooth surface on the finished bagel.
Punch down the dough in the bowl and let it rest for ten minutes. While the dough is resting, prepare for the next steps by laying a piece of parchment paper on a baking sheet and setting a wide, deep pot of water on the stove. The water should be at least twice as deep as the unboiled bagels are thick, but the pot should not be so full as to risk boiling over when brought to a boil.
After ten minutes, turn the dough out on a counter. The dough should still be stiff and dry, so you should not need to flour your counter for this step.
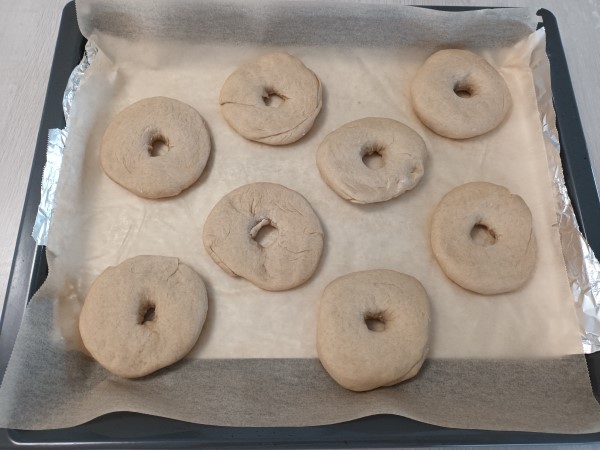
Divide the dough into eight equal parts. (Use a scale if you want to be precise, but you can also just eyeball it.) Roll each of these eighths into a plump round disc. This step is crucial for the surface texture of your finished bagels, and the smoother you can make your discs, the more even your bagels will be—as you can see, I did better with some of these discs than others, and the results show in the finished bagels.

Push down into the center of each disc with one finger, and gently stretch out the hole until it fits two or three fingers comfortably. Place your shaped rings on the prepared baking sheet, and let them rest another ten minutes under a damp dish towel.
Step 3 – Boiling
The bagels will rise in the boil, taking on their final shape, and the boil also gives the bagels their distinctive chewy crust.
Prepare for the next step by heating your oven to 425 F / 220 C. Use a light convection setting, if you have one.
Bring the pot of water to a rolling boil, then reduce the heat to keep it at a steady bubble.
Using whatever tool seems best (I prefer a metal spatula), lift each bagel and lay it in the boiling water. Fit in as many as can sit comfortably side by side in the pot without overlapping.

Let the bagels boil for one minute, then flip them over and boil them on the other side for one minute.
Remove the boiled bagels back to the baking sheet. Continue until all bagels have been boiled on both sides.

Step 4 – Baking
Now that the bagels have gotten their characteristic boil, finish by baking them in a hot oven.
(If you want to add toppings to your bagels, now is the time. Beat an egg white and brush it over the top half of each bagel with a pastry brush, then sprinkle on your choice of toppings.)
Place the baking sheet in the oven and bake for 15-18 minutes or until the bagels are a rich golden brown.

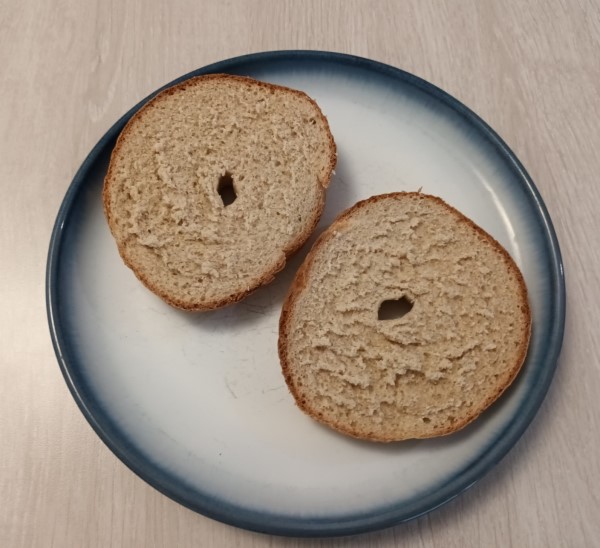
Remove the bagels from the oven and move them to a wire rack to cool.
Slice, top, and enjoy!
Images by Erik Jensen
How It Happens looks at the inner workings of various creative efforts.

I’m so glad you find the process enjoyable. I’m also glad to enjoy your bagels! 🙂
LikeLike